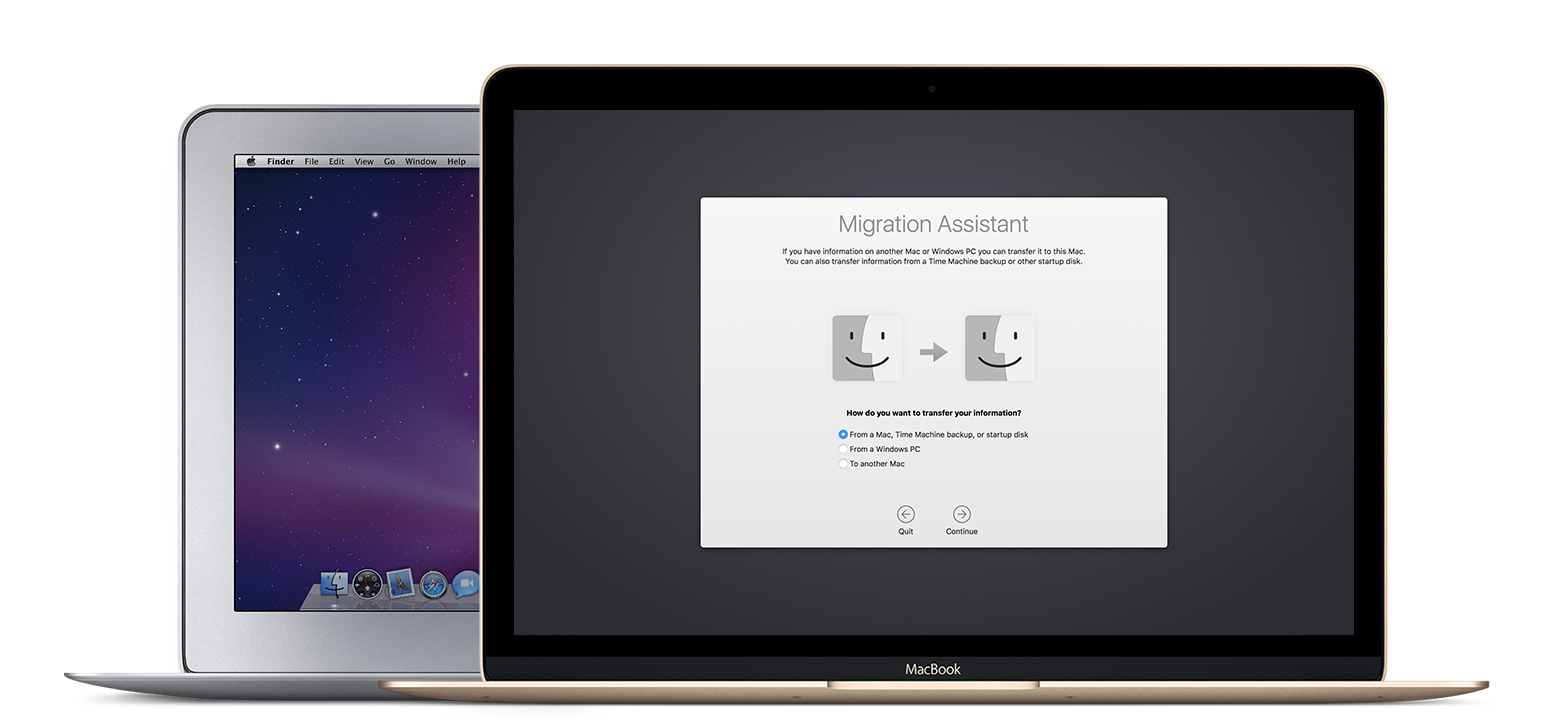
When you get a new Mac, the first thing you will do is configure it to fit your needs. But what if you want to move all the content from a old Mac to a brand new one? Well, if you have already made a Time Machine backup for the old Mac, you can easily import the data to your new Mac by using the built-in Migration Assistant app.
This post will show you how to move your content to a new Mac by Migration Assistant and Time Machine, both of which are native apps coming with every Mac. To begin with, you may need to update the backup file via Time Machine for the old Mac, and then you can start the transferring to new Mac by the following steps:
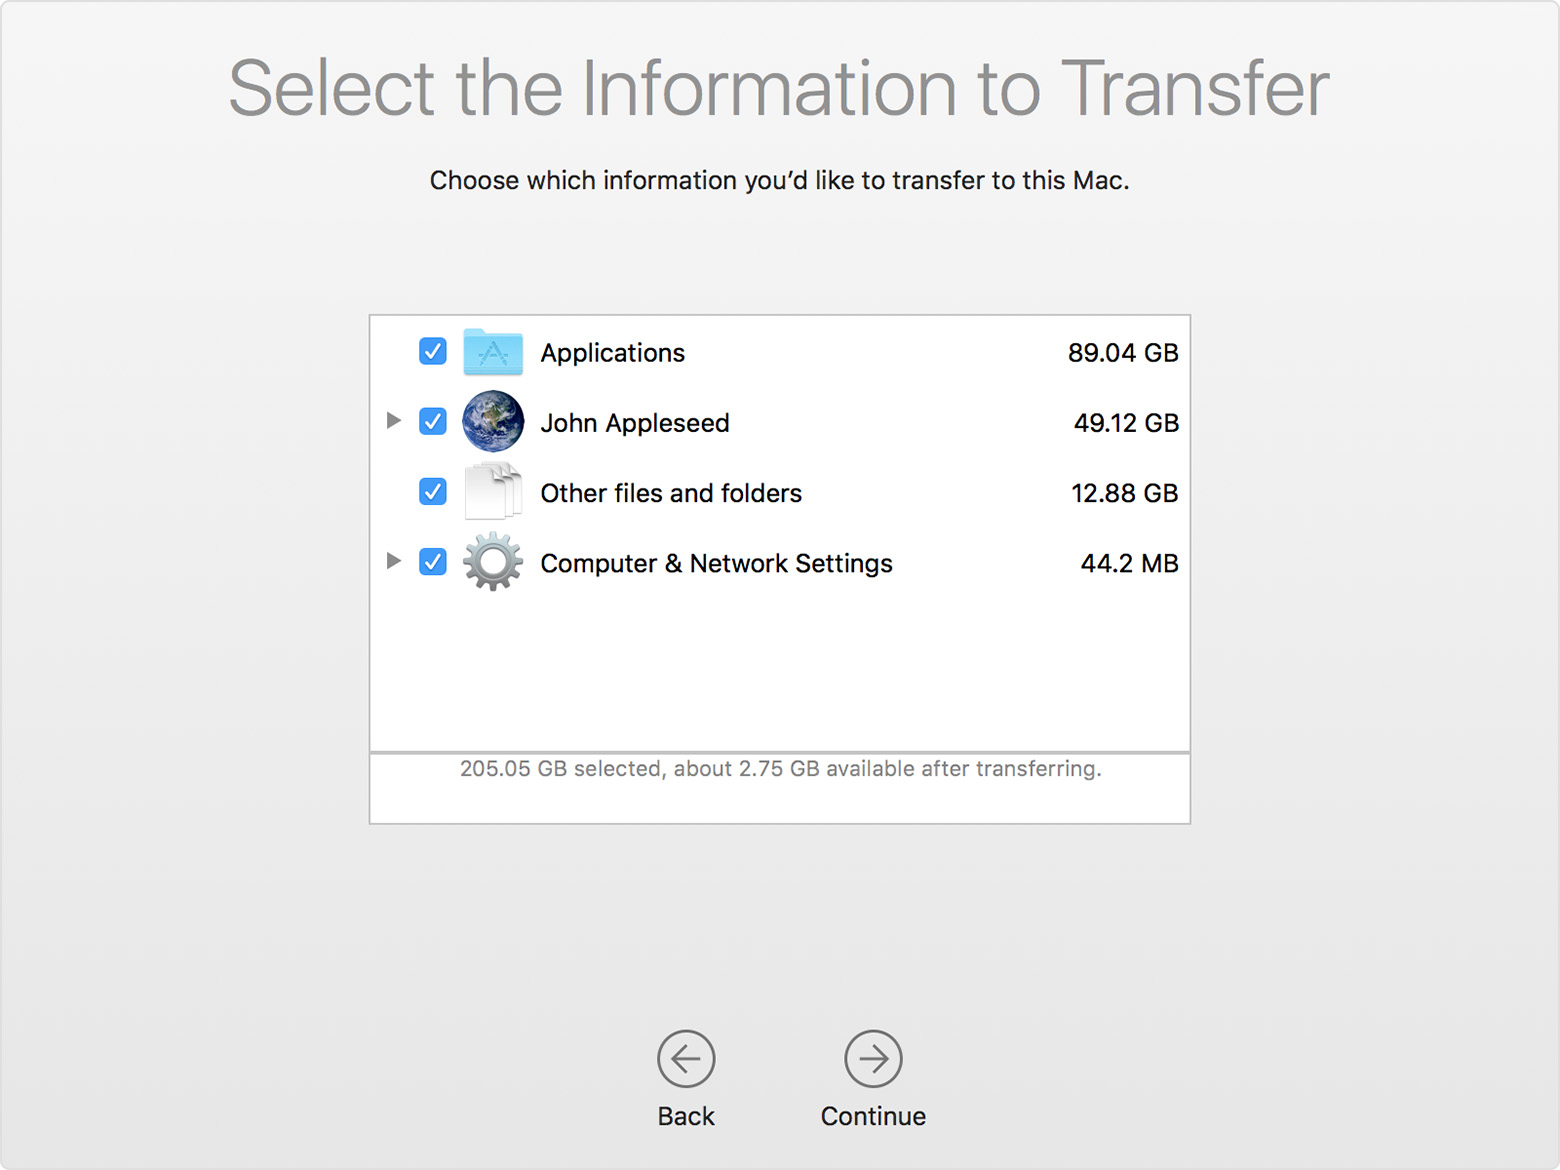
You can also choose the options for Applications, Computer & Network Settings and Other Files and Folders so as to move them all to your new Mac. Note: If you transfer an account that has the same name as an account on your new Mac, you will be asked to rename the old account or replace the one on your new Mac.
If you choose to rename it, the old account appears as a separate user on your new Mac, with a separate home folder and login. If you choose to replace, the old account overwrites the account on your new Mac, including everything in its home folder.
After the transferring is complete, exit out of Migration Assistant, and log in to the migrated account on your new Mac to check if the files you want appear. Now you can use your brand new Mac without worrying about losing crucial backup.
You may also like:
How to Copy a Specific File in Time Machine Backup
How can Uninstall iBackup Viewer Pro v2.70 Totally from Your Mac
Comments
Leave a reply