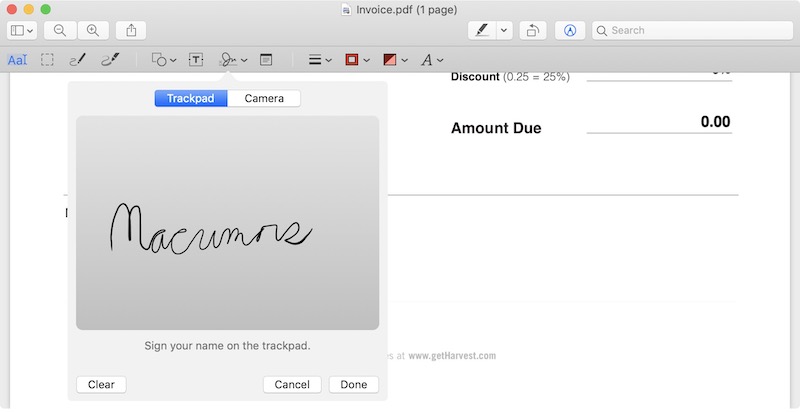
As the image viewer and PDF viewer coming together with the Mac operating system, the Preview app offers many useful features, some of which are still unknown by ordinary users. And one of the often-neglected trick about Preview is that you can sign a PDF or add a signature to PDF files. Read on to know and master this skill.
Using Preview to electronically sign documents are quite simple, even if you have multiple document, contracts or other forms of paperwork to sign. But first of all, you need to create your signatures using Trackpad or Camera before using it in PDFs.
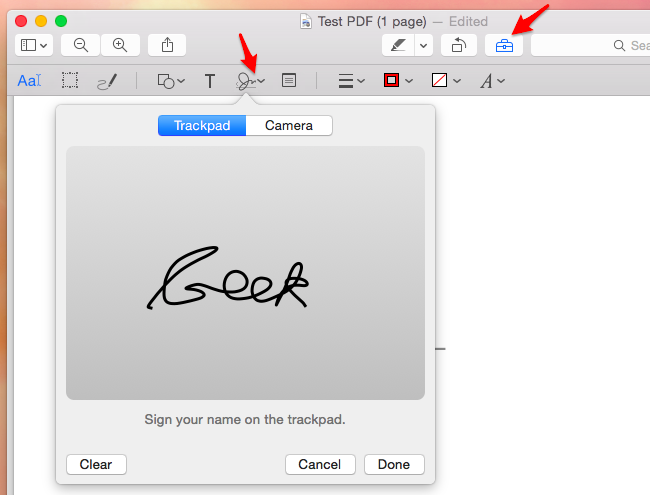
Here are the steps to sign a PDF using the Trackpad: click Trackpad, click the text as prompted, sign your name on the trackpad using finger, press any key, and click Done.
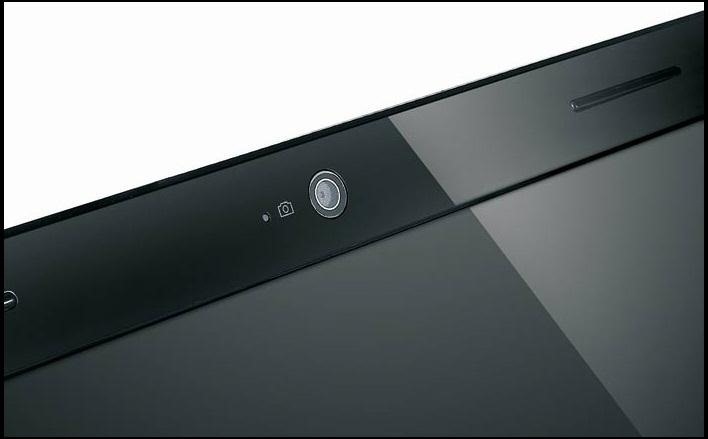
Here are the steps to sign a PDF using the Camera: click Camera, then hold your signature (on white paper) facing the camera so that your signature is level with the blue line in the window, and click Done when your signature appears in the window.
If you don’t like the results, just click Clear, and then try again.
After creating your signature using Trackpad or Camera, you can add it to your PDF or image file. Here are the details: choose the signature you want to use, drag it to where you want it to be in the document, and then use the handles to adjust the size.
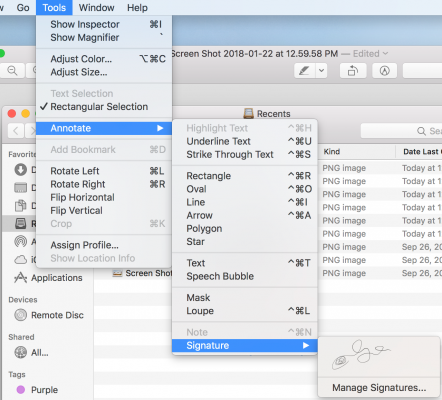
As for deleting a saved signature, you can click the Sign button again in Preview, then click the X to the right of the signature you want to delete, and it is done.
Comments
Leave a reply