Having problems when using Spotlight to search for items? One of the possible reasons is that the indexing database that Spotlight uses to keep track of where your files are gets corrupted, misplaced, or left on an old hard drive somewhere. In that case you can try to fix Spotlight issues by simply rebuilding the index on Mac.
Here’s how to re-index your hard drive via Terminal command:
Executing the aforementioned command will re-index the Spotlight database for everything on the Mac, including external drives and mounted disk images.
The re-indexing of the entire system may last from a few hours to finish, depending on the speed of your Mac and the number of files. During the process you will not be able to use Spotlight. Meanwhile, your Mac might become a little sluggish.
If you want to reindex for a specific drive, add /Volumes/(YourVolumeName) behind the command. For instance, to re-index an external drive named MyBackup, type the command in Terminal instead: sudo mdutil -E /Volumes/MyBackup/
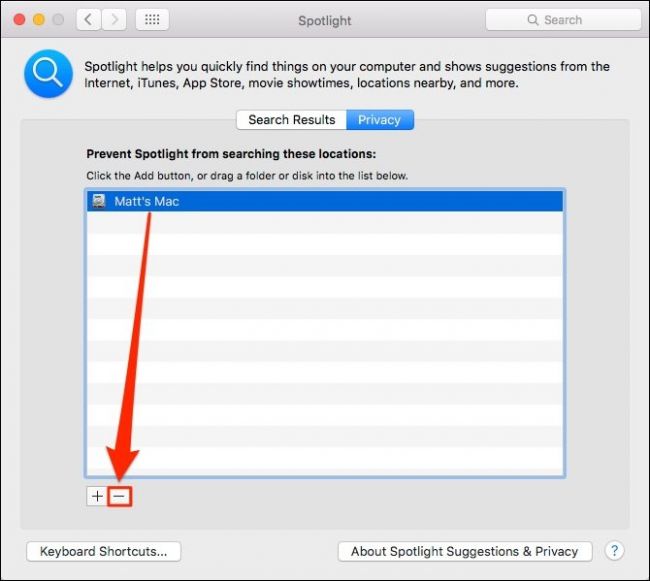
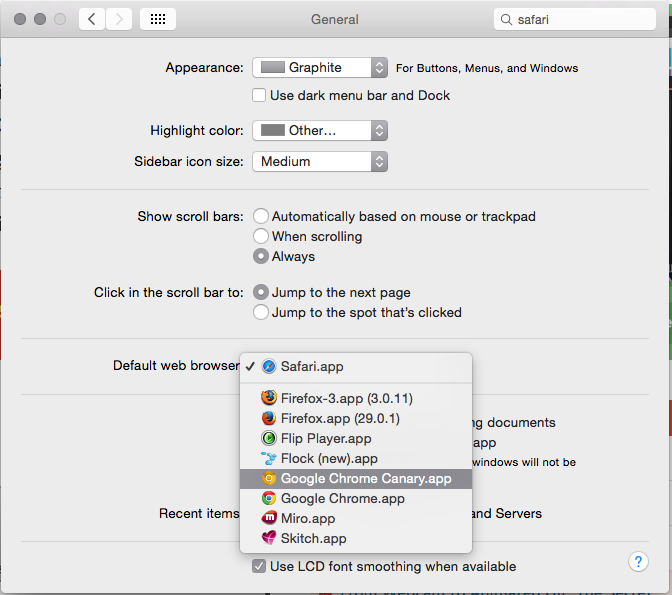
Here’s how to re-index drives through System Preferences:
Removing an item like that will cause Spotlight to reindex the selected folder or drive.
So that’s it for today’s tutorial. Have you got the tricks yet? Let us know in comments.
Copyright © 2026 HowtoRemoveApp.com


 HOME
HOME
Comments
Leave a reply